
Pokemon Pokopia Guide: Hpw to Use Security Cameras
Learn how to place, configure, and monitor security cameras in Pokemon Pokopia to track habitats and find rare Pokemon faster.
Published
Jul 2, 2026
Author
Pokopia Guide Team
Security cameras in Pokemon Pokopia are one of the most practical tools at your disposal, letting you monitor habitats, track Pokemon spawns, and manage your island without running back and forth across the map. If you've been ignoring them, you're making your life a lot harder than it needs to be.
How Do You Get Security Cameras in Pokopia?
Before placing a single camera, you need to actually own one. Security cameras are available for purchase through the PC's shop, priced at 100 Life Coins each. There's no crafting involved, no quest unlock required. Head to the shop, spend your Life Coins, and you're ready to start building your surveillance network.
If you're planning to cover multiple habitats (which you should be), buying several cameras upfront saves you repeated trips back to the shop. Stock up early.
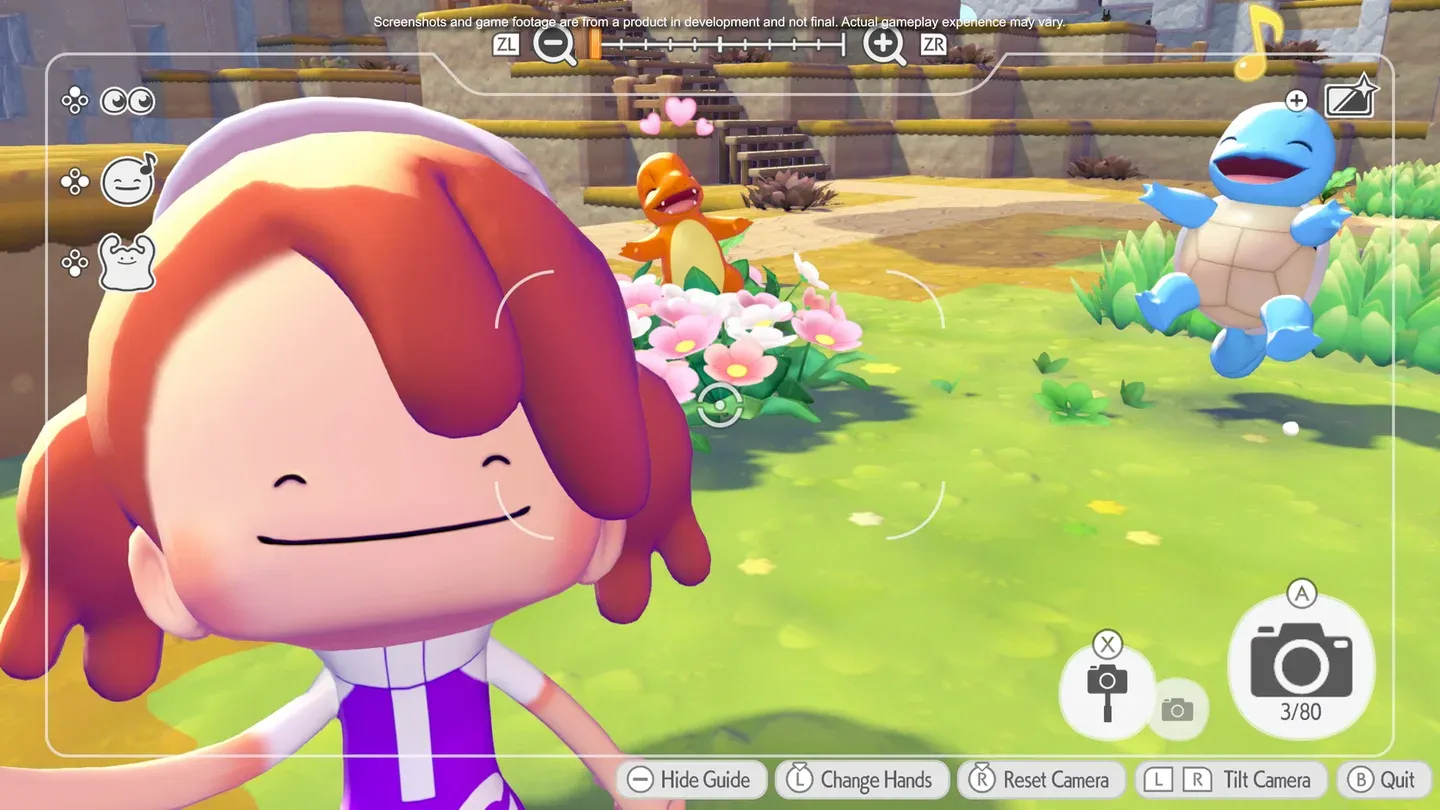
Buy security cameras here
infoPurchase multiple security cameras at once so you can monitor several habitats simultaneously without interrupting your workflow.
How to Place and Configure Security Cameras in Pokopia
Placement is everything with security cameras. You need to position each camera close to the specific spot you want to monitor, whether that's a habitat, a crop area, or a spawn zone you're watching for a particular Pokemon.
Once you've placed a camera, inspect it immediately to check its current view. From the security camera menu, you have three controls available:
- Angle adjustment to shift the camera's field of view
- Zoom in to focus on a specific point within the frame
- Zoom out to capture a wider area
Take a moment to fine-tune each camera after placing it. A poorly angled camera that misses the spawn point you're targeting defeats the purpose entirely.
dangerPosition cameras as close as possible to your target area. While the wireless range is generous, closer placement gives you a cleaner, more useful view of the exact spot you're monitoring.
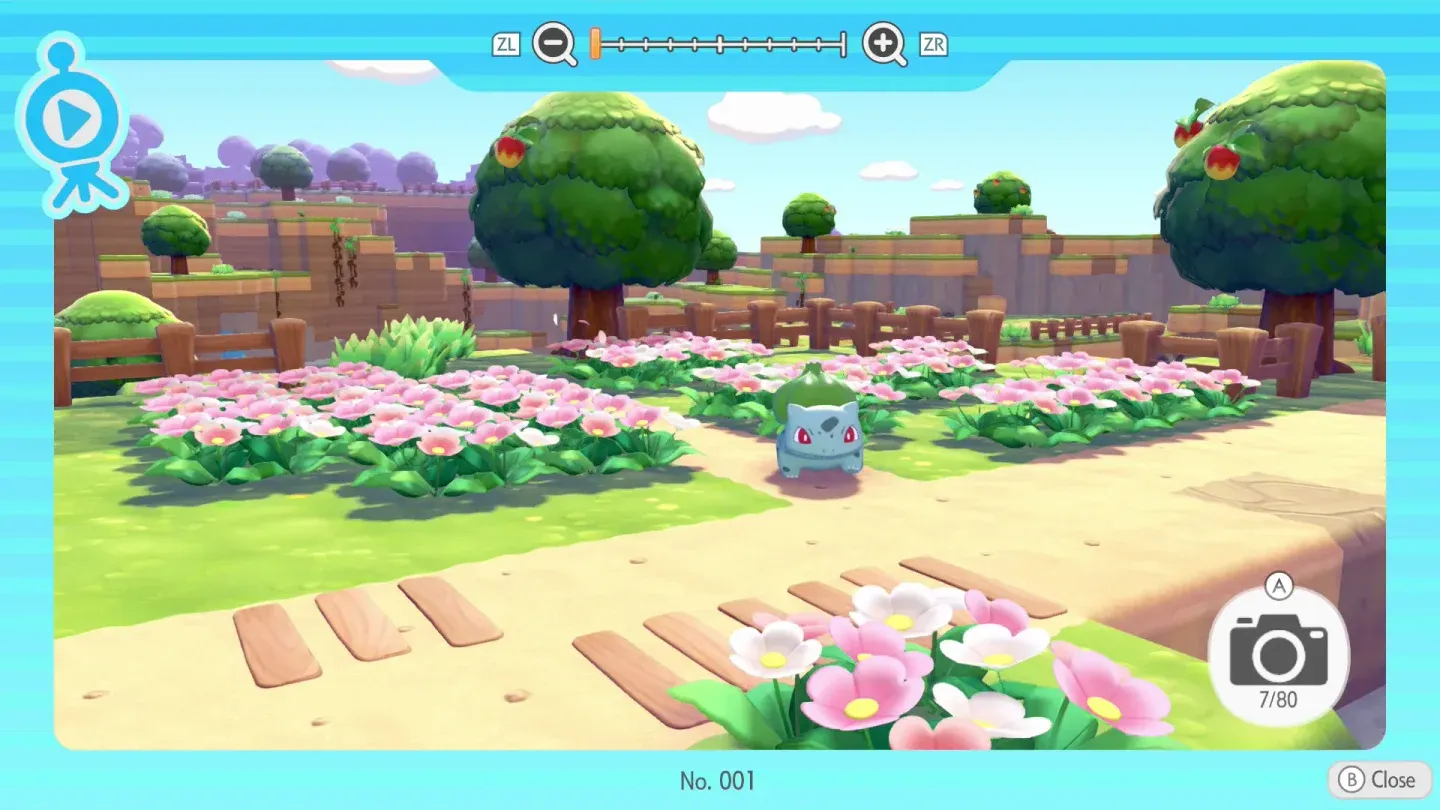
Adjust camera angle and zoom
How to View Your Security Camera Live Feed
Placing cameras is only half the job. Knowing how to access their feeds quickly is what makes the system genuinely useful.
Here's the exact process to check your cameras:
- Open your Pokedex menu
- Select the Camera app
- Navigate to the Security Cameras tab
- Cycle through each camera's live feed if you have multiple placed
The ability to cycle through multiple feeds from a single menu means you can survey your entire island in seconds rather than physically traveling to each location.
infoIf you've placed several cameras across different habitats, cycling through feeds in the Security Cameras tab is far faster than fast traveling between locations to check on spawns manually.
What Are the Best Uses for Security Cameras in Pokopia?
Security cameras shine in a few specific situations. Here's where they add the most value:
| Use Case | Why Cameras Help |
|---|---|
| Tracking rare Pokemon spawns | Get notified when a target Pokemon appears in a habitat |
| Monitoring crop and habitat progress | Check growth without physically visiting each area |
| Finding undiscovered Pokemon | Spot new arrivals passively while doing other tasks |
| Managing large or spread-out islands | Reduce travel time across the map significantly |
| Watching specific habitat conditions | Confirm environmental requirements are being met |
The notification system is particularly valuable when you're hunting a specific Pokemon. Rather than repeatedly running to a habitat and finding it empty, cameras alert you when something spawns there, so you can respond at the right moment.
Taking Photos Directly From Camera Feeds
Beyond monitoring, the security camera menu also lets you take pictures from the camera's perspective. This is useful for documenting Pokemon behavior, capturing habitat shots for reference, or simply getting screenshots from angles you couldn't reach on foot.
Building a solid camera network pairs naturally with other island management strategies in . If you want to go deeper on habitat mechanics and other systems, browse more guides for additional tips across the game.